To finish up our little thread adorned CAM, we need to complete her tail. This blog post will be dedicated to just that. May I say first, I'm glad that you all have enjoyed learning more about thread manes and tails, and I would love to see any projects that you try this technique on!
With that said, lets get to the end of this "tail". The first few step of creating a thread tail are just like working on the mane. Cut your embroidery thread in half, then in half again for smaller models. For trad scale models, you might need the length and won't need to cut the thread the second time. Comb out the thread and you did during the steps for the mane. Glue one end of the groups of combed thread, cut th glued end across evenly, then cut into the threads perpendicularly, making each cut approximately 1/8 to 1/4 inch apart.
Your model should be "hair prepped", meaning you have removed the original tail and created a tailbone of wire and epoxy. Make sure that the tailbone is painted to match the color of the thread you will be using for the tail. Begin gluing your small groups of thread at the tip of the tail. Add more glue and more groups of thread, working your way up the tailbone. I like to glue mine on in a "V" shape as I work my way up the tailbone to make sure that the tailbone is covered well.
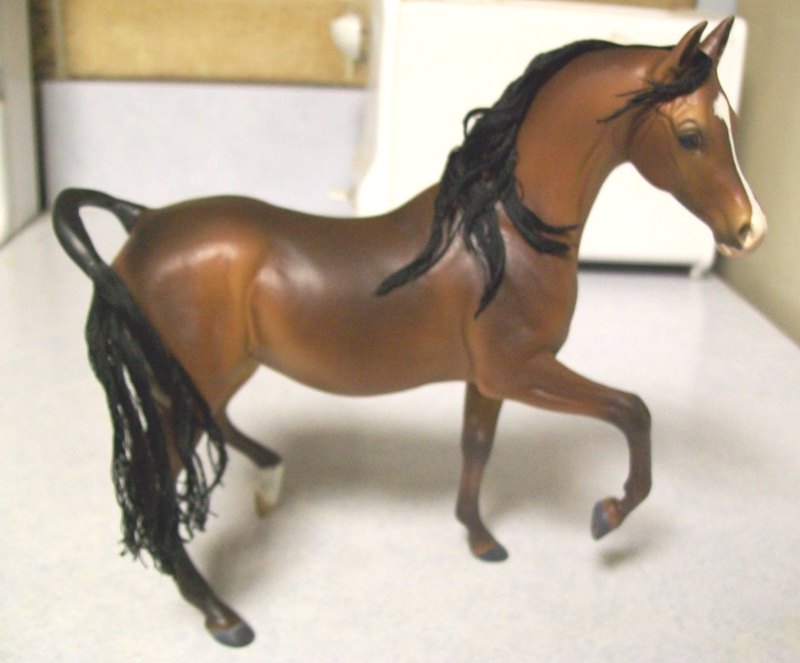
Work your way up the tailbone until you reach the point where the tailbone meets the rump. Your model will probably look miss tarantula below at this stage.

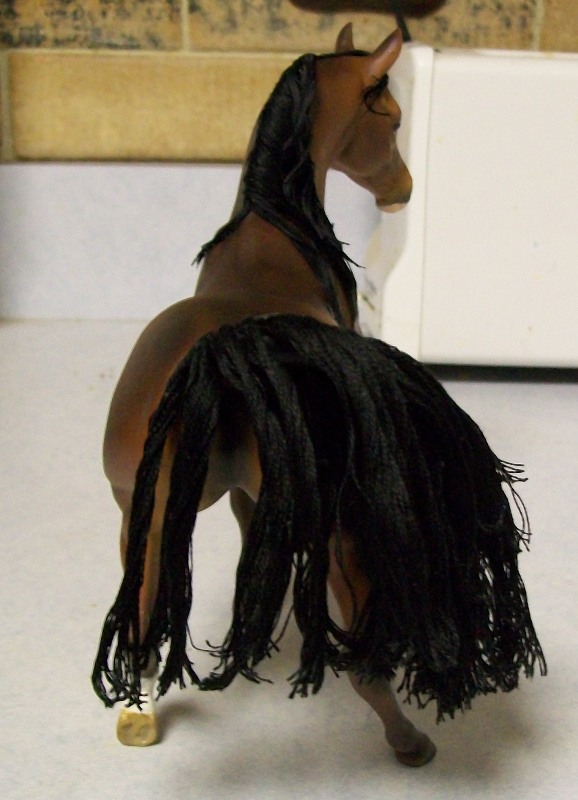
Once the glue has completely dried, it's time to comb out any loose threads and cut the tail to the the length it will be when it's finished. Remember make your cuts up into the the thread and not across.
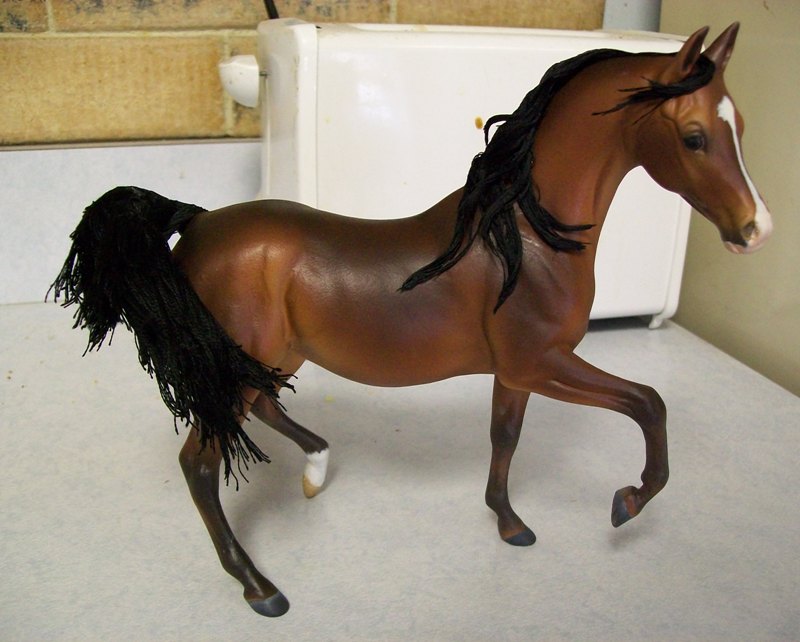
Dampen the tail with water. Be careful not to wet it so much that it loosens the glue underneath. Cover the thread generously with glue. You can start separating sections of thread to create the look of motion. As the glue dries, the thread will set up where you move it and stay in place much better. Again, use a toothpick to move the thread into position. Once the glue is completely dry, snip away any threads that look out of place.

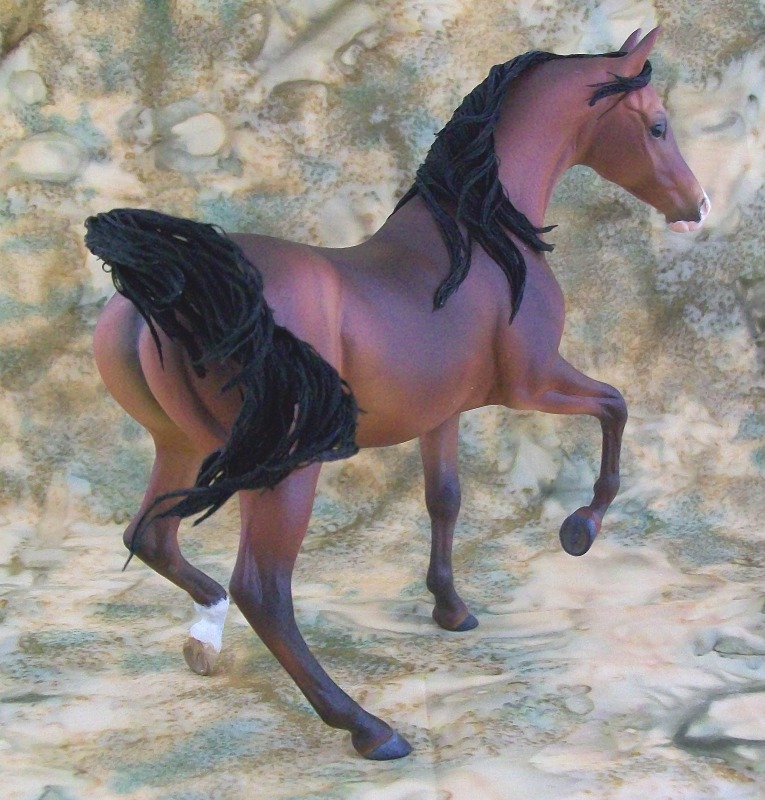
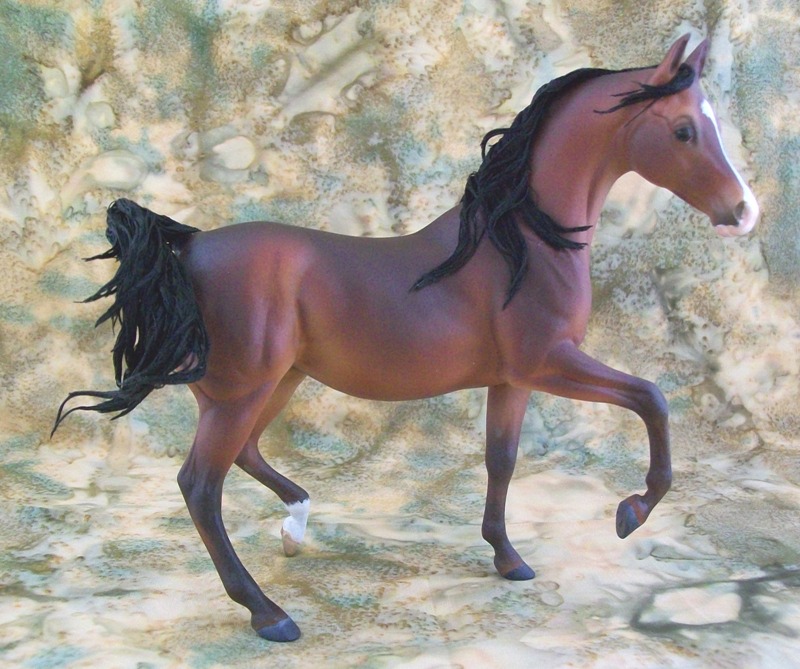
Most importantly, have fun with what you create!
 RSS Feed
